
Just like pretty much anything, a bow needs to fit you, and be tuned to work at it’s peak, and then matched to fit you at it’s peak, which might mean slightly less performance, but more than trying to force you and your bow together.
So once you have a bow, you need to get it tuned. Initially, your pro shop is your friend, and they will most probably do all of the major setups for you, but as time goes by, you are going to start taking that role into your own hands.
Below is the Basic Bow Tune every bow should go through at least once a year, preferably before the start of your training for the coming season:
Strings and Cables
If you have a new bow, this should be fine, and you will just need to shoot in the string. Most new strings will stretch a bit, even if pre-stretched, and then they should settle. Over time they will stretch a bit more, and at the end of life, you will start seeing major movement again (yokes move, timing goes out, loss of draw poundage, etc)
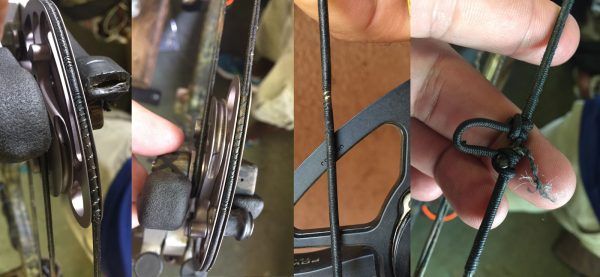
At the beginning of the season, check your strings… check for separation on the serving, check for broken strands on the serving, check for wear anywhere on the string, especially where it goes around corners. Also check for nicks on the string or serving where a broadhead may have started cutting a strand by accident.
Also remove excessive wax. Some bow technicians believe wax is bad for a string as it captures dust and unbalances the string, where others believe it extends the life of the string no end. Personally I think that it really depends on your environment and how much you shoot. If you live in a very dry or windy environment, rather use some wax.
A string is supposed to last about 3-4 years in perfect conditions. I have found that a bow that does nothing but sit in a warm area for most of its life, and then gets shot for a month or two before or during season, tends to have a shorter string life, than the same setup shot every week or two. I like to swop out my hunting bow strings every two years or so.
Ok… so your strings are good…
Cam Lean and Timing
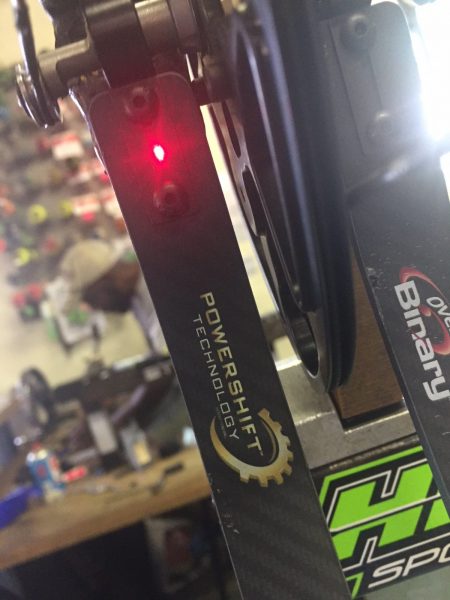 All cams lean to one side. Your cable guard or slider causes this. It’s the only way to get your cables out of the way of the arrow. It’s ok, and nothing is wrong with your bow if they are not perfectly aligned to the bow. However, each bow model has a sweet spot where you can get the most efficiency out of a cam. If your bow has yokes, use that to align your cams to the perfect position according to the manufacturers specs (often its the mounting bolts where the cam is mounted to the limb on the opposite side.
Note that this may move later when you tune the bow to match your grip and shoulder position.
In the end, you want your arrow running perfectly on the “Centre Shot” position – Middle of the grip across the riser, middle of the “Berger Button” (or Berger holes)
The timing is influenced by the lean, your string length and the cables on your bow. Your bow can have Static Timing, Dynamic Timing or both. A good starting point is to get the timing as close as possible to perfect in both instances. Timing that is out leaves you with a soft back wall, difficulty in aiming stability as well as losing efficiency of the cams. Timing that is out also encourages extra nock travel (letting your arrow have up/down tail kick) which will influence accuracy and groupings, especially in bad weather.
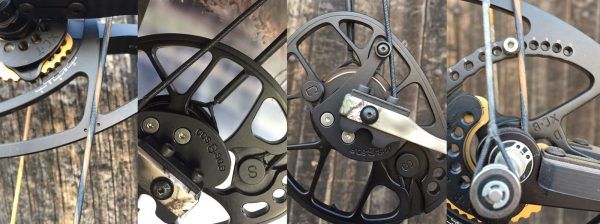 Static Timing is usually marked on your cams or measured on your cams at rest, or in other words, when the bow is not drawn back. Both cams must run through the same line on the cams (unless it’s a solo-cam design). It means that the cams return to the resting position at the same time, returning the string at a 90-degree angle to the arrow flight as the nock is released.
Dynamic Timing is what most people refer to when they speak about timing, and that refers to you string stops on your cam that must hit your cables at exactly the same time. If they do not, it means one cam is rotating more than the other cam, losing the designed efficiency of the cam, and pulling the nock of the arrow up or down (depending on which cam is late).
Dynamic Timing can be blamed for all sorts of problems, including porpoising arrows (up/down tail kick) soft or spongy back wall, double wall, aiming instability, easier overdraw and simply miserable bow performance. Bad timing can make for a very unforgiving bow, and old strings are often the culprit for bad timing (as one cable stretches more than another cable over time)
Draw Length
It’s odd how often this is a problem… but it is a problem nonetheless. New archer’s often change their draw length as their form improves and the become better at shooting the bow consistently, so it is not a bad idea to check and recheck against what you had in the beginning as you get better.
Another culprit is the guys that try and push just a little bit more. If they can get that extra inch in draw length then they can get a bit more speed, and a bit more KE. It’s true, but more often than not, it’s overdone, and the result is an overextended front arm that never really settles. Target archer’s use this technique to reduce the effect of errors, but its a small adjustment, not an inch long.
Rather have a slightly slower bow that aims solid and that you can shoot with confidence, than having a bow that just misses the vitals faster.
Centre Shot and D-Loop
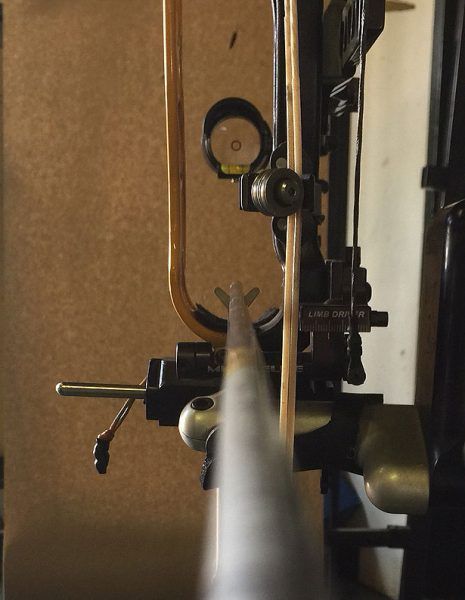
Now that your timing is cool, and your draw length is super, you need to check that your Centre Shot is in the right place. There are quite a few complicated tools to do this with, but I always seem to go back to a simple bow square, or hanging an arrow from my string (but the square is less finnicky!)
Get your rest lined up as best you can on left right according to where your string is now, and then, using the bow square, get a nocking point on your string that will get you as close as possible to the middle of the Berger holes.
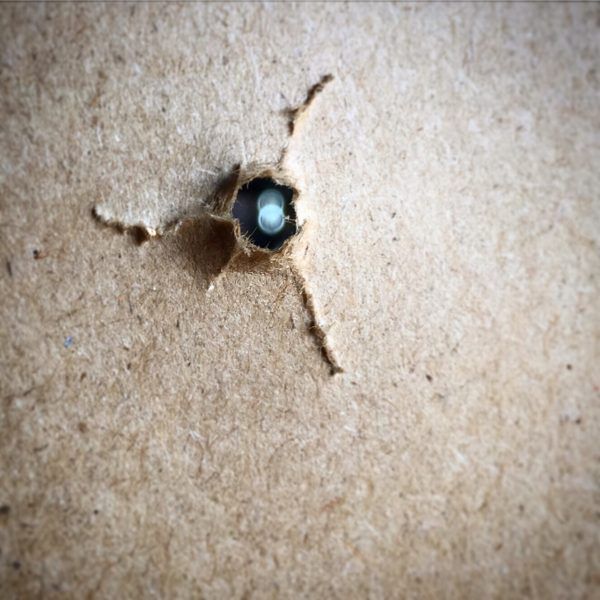
At this point, I get pedantic, and I tie in a temporary D-Loop, and shoot the arrow through paper to see how far off I am from a perfect bullet hole. If I am pretty close, I will undo one side of the D-loop and tie in a nocking point, then undo the other side and tie in another nocking point. I will then put a D-loop back on the outside of my nocking points. Reshoot through paper, and make small adjustments on my rest to get it perfect (paper tune) – Double check to see that you did not move the rest too far from the centre shot position. If you needed to do that, rather move your yokes to accommodate.
 Peep Positioning
Again, this is an odd one. One thing to get right in your head: The bow comes to You
The bow is set for you, you do not adjust to the bow. I will frequently find that an archer’s peep is set too low, and they will either lean back, or duck their head in (turtle) or angle it over to get to the peep. This changes the angle of your shot almost every time as you cannot consistently angle your neck, to get the same position. Expect wider groupings as soon as anything less than perfect condition arise.
Fixing this is simple: Get to a blank bale/boss or butt. Nock an arrow, close your eyes and draw up, bringing the bow to you, without opening your eyes. Settle in the most comfortable position while staying upright and extended with your head and neck. Now open your eyes. If the peep and sight ring is not exactly on the same hight, then you need to move the peep up or down until that alignment is perfect.
The less stress on your body, the longer and more comfortable will be your practice sessions, and the easier it will be to build consistency.
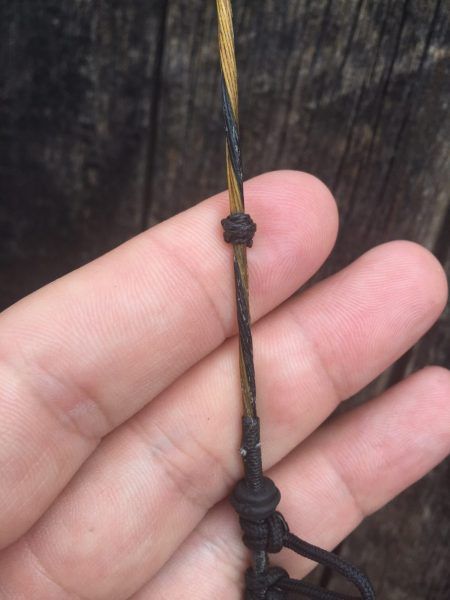
While you are busy moving things around. You want to ensure peep rotation is perfect. If the peep is rotated at an angle on full draw, bring over a strand in front of the peep, and another in the opposite direction at the back of the peep to ensure a perfect angle every time. Keep “jumping strands” until your peep is straight on full draw.
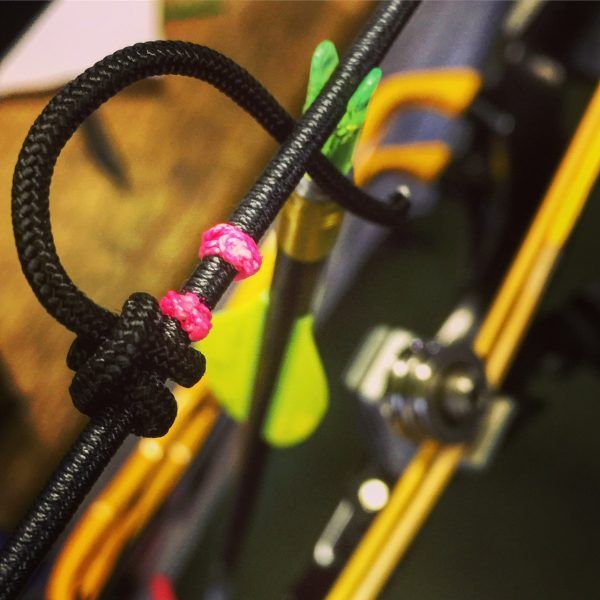
 Kisser Button
Many archers believe a kisser button is a crutch and there for beginners. I say its your responsibility as an ethical hunter to increase your chances of success as much as possible. The kisser button makes aiming in low light easier, when the peep sight all but disappears. Its an extra anchor point that helps with consistency.
Once you have a good peep position, head back to the blank bale, draw up, and ask someone to mark your string with a marker at the corner of your mouth or where it crosses the centre opening between your lips.
You do not need a fancy kisser button. I like to tie in a nocking point with a thicker serving material.
Shoot like this for a week or two and check that the position is perfect. You can thank me later…
Regardless of what you prefer and how you like to tune your bow, you will always start with a basic setup: centre shot, cam leaned, correct draw length and usable draw weight & holding weight.
From there, I will probably do the following
 Paper tuning [coming next]
Torque Tuning [coming soon]
Bare shaft tuning [coming soon]
Walk back tuning [coming soon]
French tuning [coming soon]
Spine tuning [coming soon]
HIL Tuning [coming soon]
Nock tuning / Spin test [coming soon]
Broadhead tuning [coming soon]