

After doing penetration tests, on High FOC arrows (and frankly, being a bit disappointed…) I decided to revisit the problem and create a real world test – actually hunting with the arrows!
Following some research as to why the high FOC arrows I made, didn’t really blow my skirt up, I came across quite a few articles saying that High FOC rarely makes much difference in penetration of the target animal, the main benefit is in groups and accuracy. If you want to start getting penetration performance as well, then you need to be above 19% FOC (according to experts like Dr Ashby)
So off we went to Archer’s Edge to get an arrow designed and purpose built for this:
a. Doesn’t break the bank
b. Stays around 500+ gr (not too slow, and not too heavy)
Step 1 – Pick a Shaft
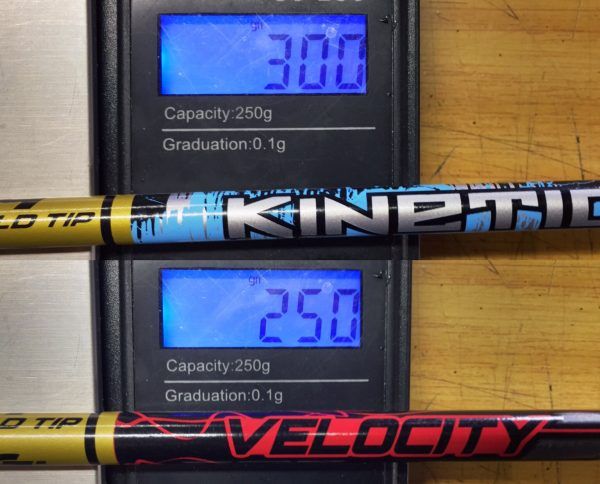
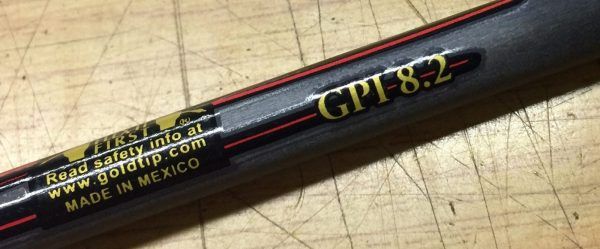
I am not going to be shooting above 70lbs and I am not shooting aggressive cams (I am shooting a Bowtech on it’s comfort settings) but I am going to be loading the front end, which makes the shaft selection a bit stiffer than normal. I wanted it light, so the obvious choice for me is the GoldTip Velocity series shafts. The GoldTip shafts are strong, I am quite happy with them, and the Velocity is a standard 0.246” inner diameter, so most standard inserts and nocks works there.
The shaft is an 8.2GPI shaft, so nice and light, I can really load the tips.
Step 2 – Fletching and nocks
VaneTech has a new 2” HD vane that I quite like, it’s chunky, and should survive most things you throw at it, but it’s a bit heavier than their older HP vane (about 8gr on three vanes) and as I might want lighted nocks at the back, my thought was to grab the lighter fletch. I am seriously considering feathers, actually.
Step 3 – Points, Weights and Inserts
GoldTip has an awesome FACT weight system. its essentially screw-in weights attaching to the insert. They also have an awesome 100gr brass insert! Now we’re talking…
I ended up with the brass insert and two extra 20gr FACT weights… the reason being the points.
 I am in two minds…. With this setup, I can run a nice 125gr broadhead like a G5 Striker Magnum or Ulmer Edge 2″, and end up with a 538gr arrow, which is basically what I want, maybe a tad heavier. But… I can run a standard 100gr broadhead, and still end up with 523gr arrow. Which is pretty much perfect, I think.
I will build both and test over a few weeks and see which one I like best.
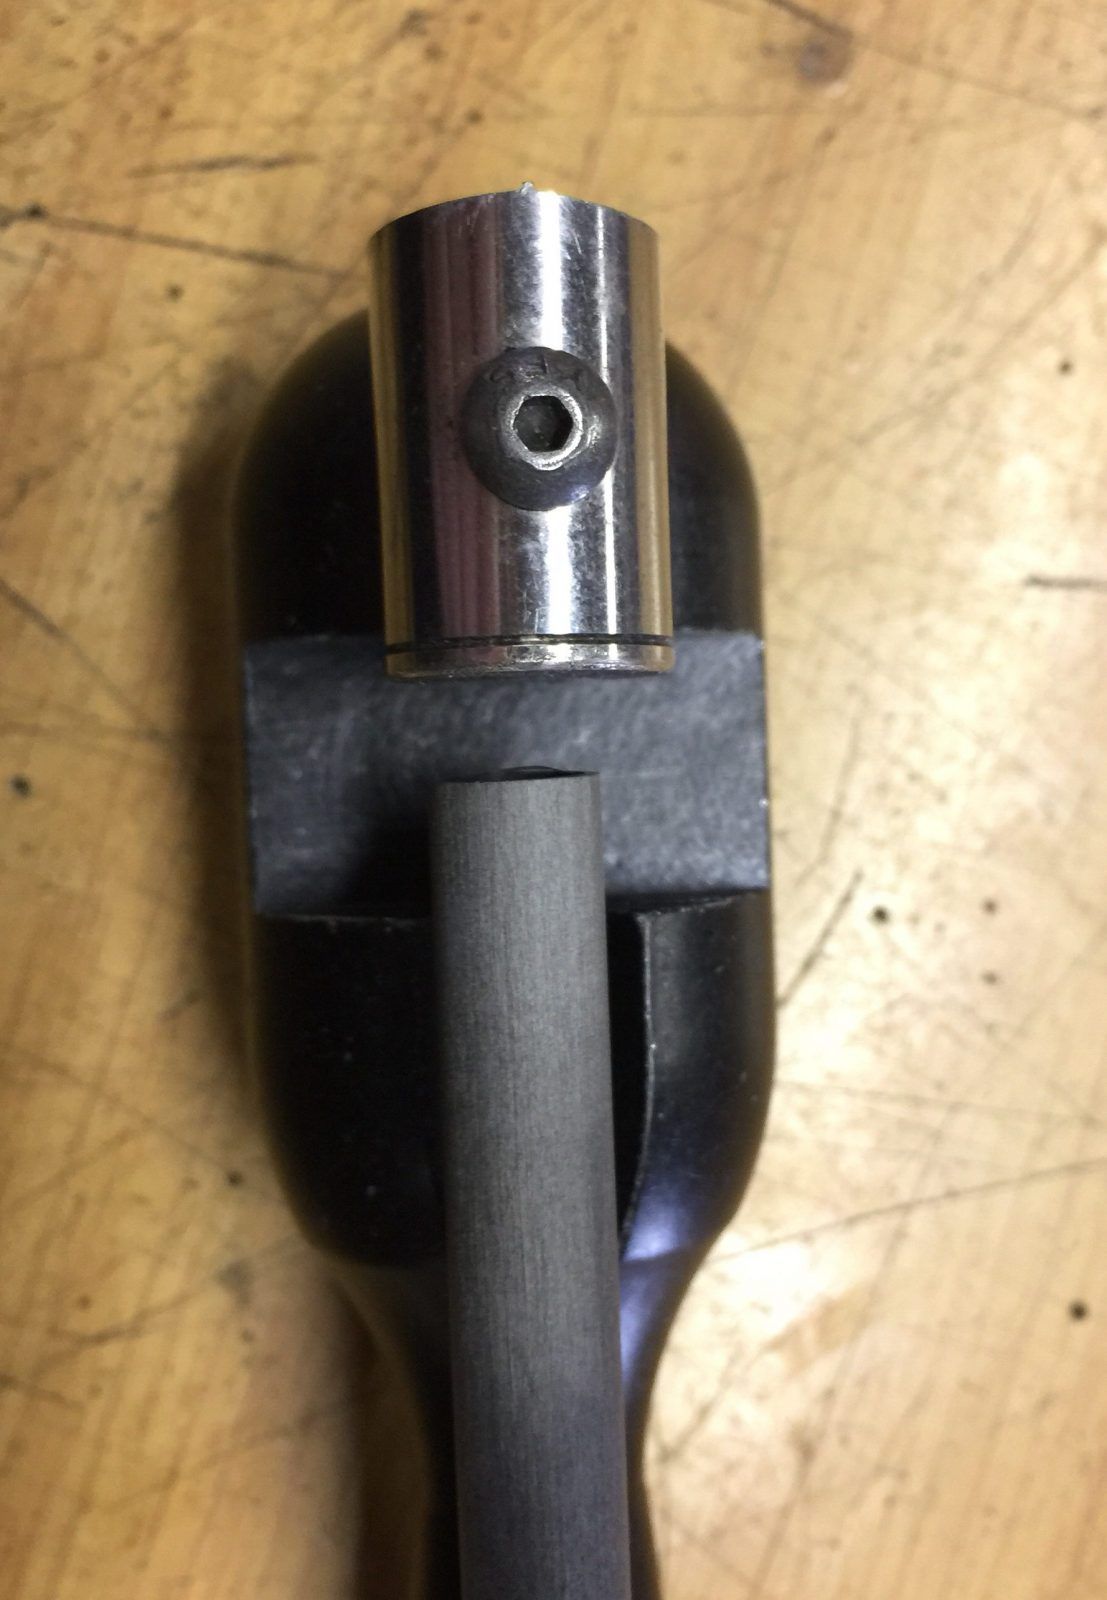
What was really important was to make sure the ends of the shaft is exactly cut and straight on 90-degrees. Really doesn’t help to take all the time to design the “perfect” arrow combination and then stuff it up in putting it all together!
Where did my FOC end up?
According to my measurements on the slightly heavier arrow, my shaft to nock throat was 30.3” – my balance point to nock throat was 22.44” which gives me an FOC of 24% – Extreme FOC Achieved!
How is FOC Calculated?
- Divide the arrow’s overall length (distance to the bottom of nock groove to end of shaft by 2).
- Find and mark the balance point. Measure from the throat of the nock to the mark
- Subtract center of the arrow measurement (calculated in step 1) from the balance point (calculated in step 2).
- Multiply the result by 100.
- Divide the result by the arrow’s overall length.
That is the FOC percentage of your arrow
30.3” / 2 = 15.15”
(22.44” – 15.15” = 7.29 x 100) / 30.3”
= 24.05%
So I think I have my perfect arrow. Time to broadhead tune, and then off to hunt something!
[EDIT]
Testing did not go so well, so I ended up going with a 300gr arrow – Read PART 2 here
![]() Thank you to Archer’s Edge for letting me play in your arrow shafts and components! Whether you want to build standard Hunting arrows, heavy Big Game Arrows or Extreme FOC arrows, They have the spares to build what you need!
Thank you to Archer’s Edge for letting me play in your arrow shafts and components! Whether you want to build standard Hunting arrows, heavy Big Game Arrows or Extreme FOC arrows, They have the spares to build what you need!